Bedroom Plans

A lot of family and friends have asked what we plan to do with the house now that all our large renovations our completed.  I always say that I’m starting over and redecorating the rooms from the beginning.  Most think I’m joking.

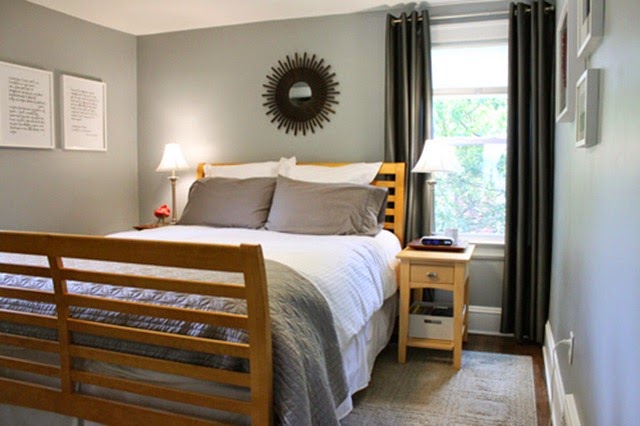
While I’m not planning to completely change everything about our house, the rooms that were completed soon after we moved in need an overhaul.  Specifically our bedroom.

IMG_0488

I’ve grown tired of the light blue walls and curtains and convinced Mike that a new color and some updated curtains were in order. 

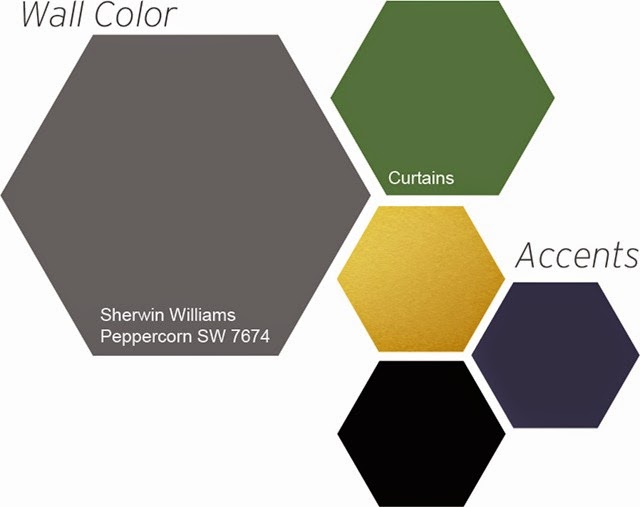
I’m thinking dramatic color palate is in order. 

Color Palate

This is the only room in the house that we prefer it to be dark, so I figure why not? 

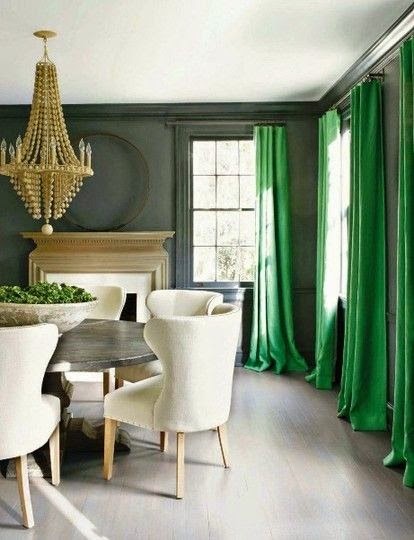
The bed must stay, (it was Mike’s before we met, so he has a soft spot for it, and it’s still in great condition), but the color reads a bit orange, so it’s a little hard to work with.  I know blue works, but I was hoping for sometime more modern.  I found inspiration from this photo:

Palate Inspiration

Via

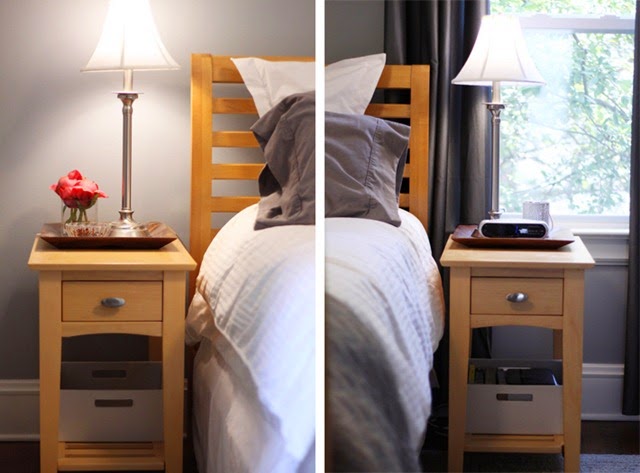
Paint colors of course led to the discussion that our bedside tables were no longer working for us, so those will get changed out as well. 

Bedside Tables

I’ve always preferred to do my make-up and hair sitting down.  Back in the day a mirror, the floor, and an outlet was all I needed, but the last couple of years I’ve been doing it in the office.  This is fine most of the time, but it’s kind of a hassle (especially to Mike) when you want to use the desk for something actually office/crafting related and he’s got to move make-up and curling irons.  #girlproblems. 

There’s really no place to create a vanity area anywhere, but when I saw Kristin from The Hunted Interior use a vanity as her bedside table, I realized there was a space I hadn’t tapped into yet.

Bed-Nightstand-Vanity-Reduced_zps53a93c09

via 

I don’t have as much space as this picture shows, but I’ve talked Mike into helping me build something custom for our space.  One of my requirements is a drawer, because I know me, and keeping it tidy will be my hardest task.

For Mike’s side, I wanted more storage.  The tiny drawers we have now don’t hold very much at all, our books and stuff are overflowing on the bottom shelf.  I did a little measuring and found the ever popular Ikea Rast fits the space perfectly.  I’m digging the campaign hacks that are everywhere, so that might be the direction I go.

campaign-rast1

via 

There’s no immediate timeline for this project, but I tend to jump in when I have an idea so I’ve already started collecting some of the items like the curtains, which I found at World Market, (they go on sale quite often), and the campaign hardware.  I have to get the momentum to paint which will be the biggest change and get everything moving.  Hopefully I finish it in time before I change my mind about this room again!

DIY Coat Rack

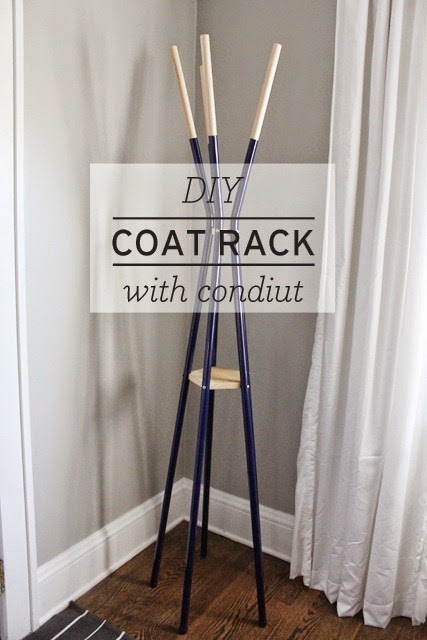
Another quick project finished up in December was a coat rack.

We don’t have any sort of coat hanging system.  We knocked out the only closet on the main level with the kitchen reno and both exterior doors open directly into the living room and kitchen.  We have been shopping for a while, but couldn’t find any that we liked, so of course we made our own.  

DIY-Coat-Hanger

I had sent Mike this, as my inspiration:

splash-modern-coat-rack---red

I liked the color “dipped” look with the natural wood on top.  We went back and forth on the best material to use with Mike suggested electrical conduit.  It’s readily available at the big box hardware stores, and it’s cheap.

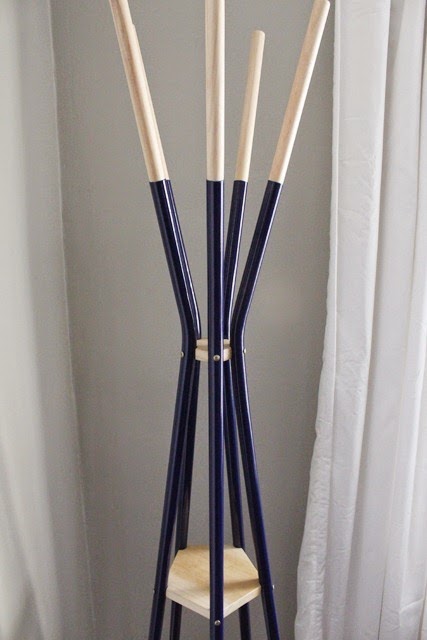
Mike did all the calculations, but basically, he bent the conduit using a conduit bender and made pentagon wooden disks to attach the pieces together. 

Coat-Hanger-5

Coat-Hanger-4

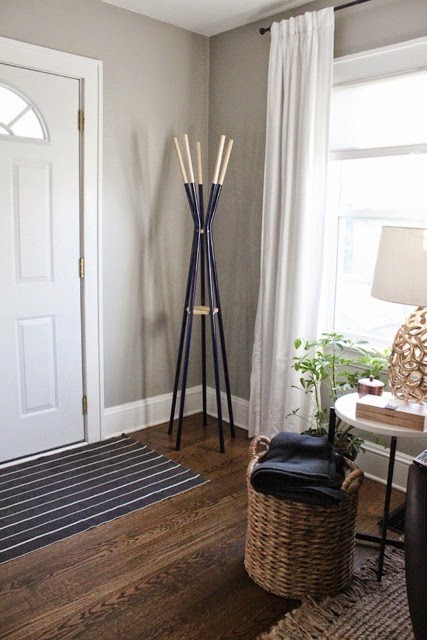
We got the metal powder coated a dark blue, and added rubber stoppers to the feet, and used dowels to extend the top and give it that two-tone look I liked.

Coat-Hanger-3

This corner in the living room always felt empty, and being next to the front door made it a perfect spot.

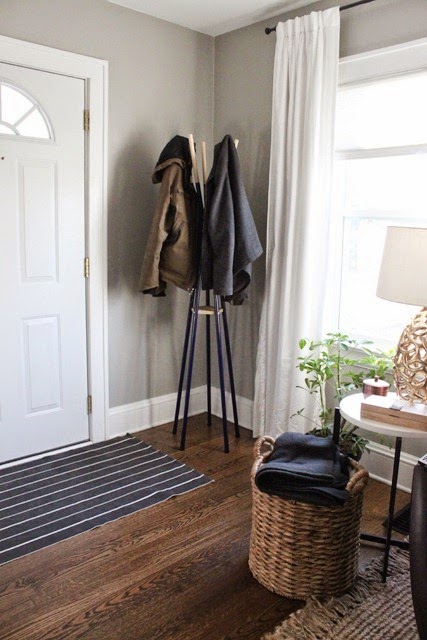
Coat-Hanger-2

Some people commented that it looked a little unstable, but it’s not.  I even use it for my purse (with my laptop in it).  Since the purse hangs down closer to the wooden supports it’s really stable.  I also alternate sides when adding coats.

Coat-Hanger-1

Because we only bought the conduit and dowels, it only cost about $20 for the whole thing.  It can easily be spray painted to any color as well.

One more thing added that made hosting this past holiday season even easier.

DIY Chalkboard Command Center

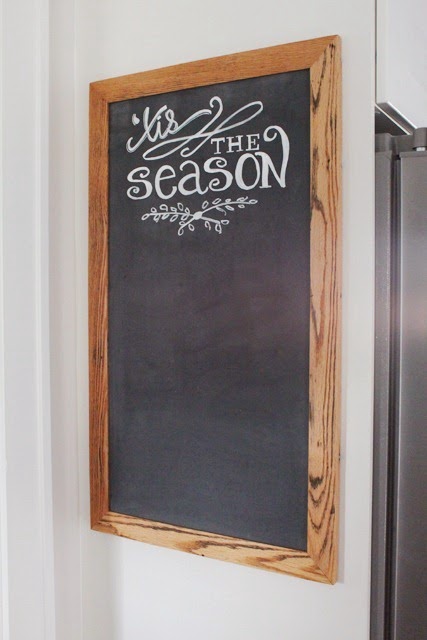
I mentioned that we had completed a couple projects right before the big holiday surge.  One that I knew I wanted completed before December hit was a magnetic chalkboard for the kitchen.

DIY-Magetic-Chalkboard

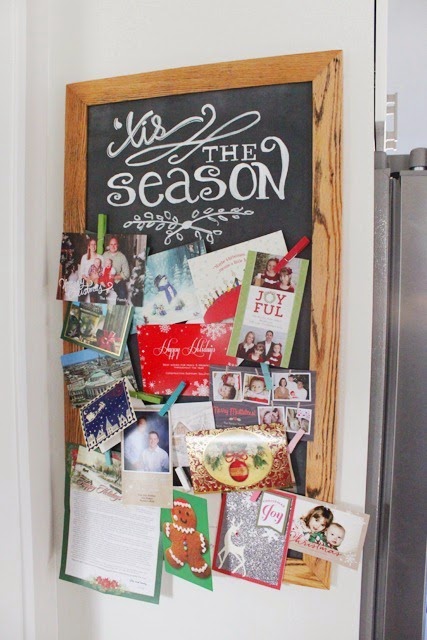
We never have a proper place to put holiday cards so I knew I wanted this made so that I can finally display them!

DIY-Magetic-Chalkboard-with-Christmas-Cards

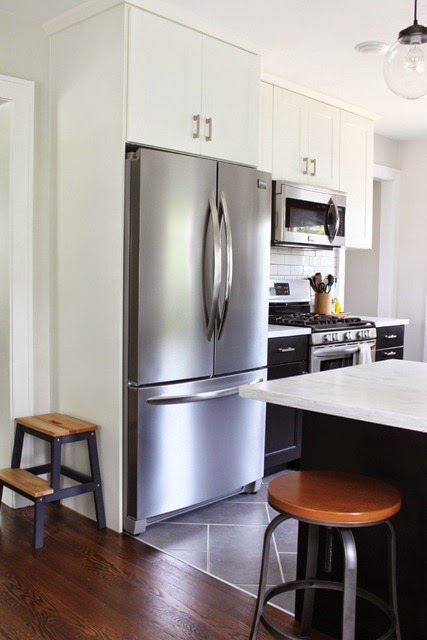
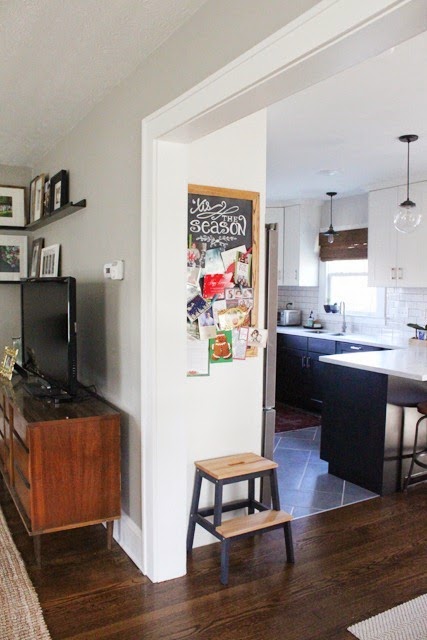
When I revealed the kitchen I mentioned that it was our plan to make a chalkboard to fill the space on the side of the fridge.

Ikea-Kitchen-Renovation-Reveal-11

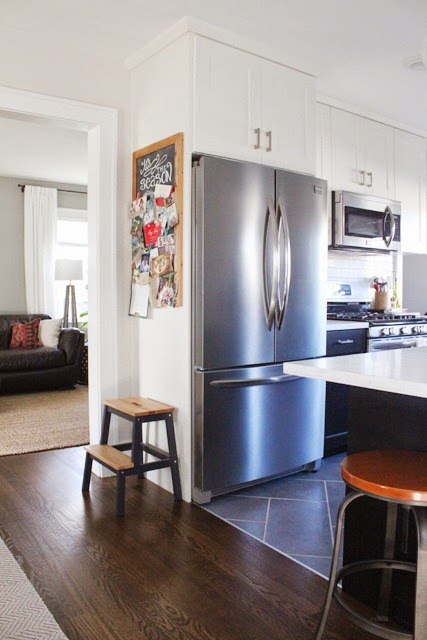
Obviously, we would make it ourselves, and the benefit of this was we could customize the size, as well as create a magnetic chalkboard for a fraction of the cost.  Actually, because we had all the materials, this project didn’t cost us a thing!

DIY-Magetic-Chalkboard-Kitchen

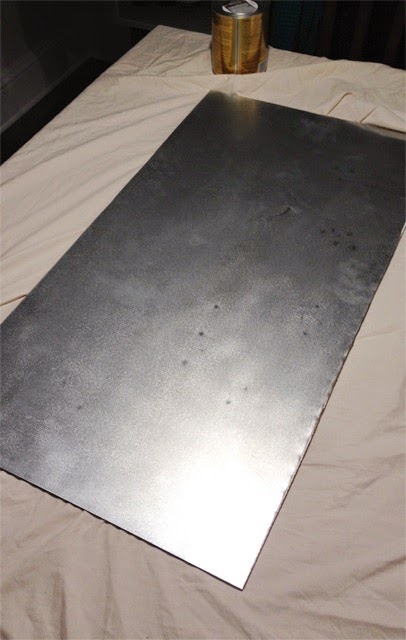
Mike used a piece of sheet metal, luan board, and some old oak floor planks.  Ironically, from the stash of flooring he had to rip up from that exact spot to extend the new kitchen.  Mike cut the sheet metal to size, cut a matching piece of luan, and then used heavy duty spray adhesive to attach the two.  This was to add support to the thin/flimsy sheet metal.

He built the frame from the old floor boards and sanded it down so I could add a couple coats of shellac.  I like using shellac because it dries in like 10 minutes. 

The edges are a little rough and still have very obvious nail holes, but both of us like it like that.  You know, the character and all.

The sheet metal was also a little rough, both figuratively and literally.  Mike sanded it down, but there were still some dings that were pretty noticeable.

Sanded-Sheet-Metal

After 3 coats of chalkboard paint though, you couldn’t see them at all.

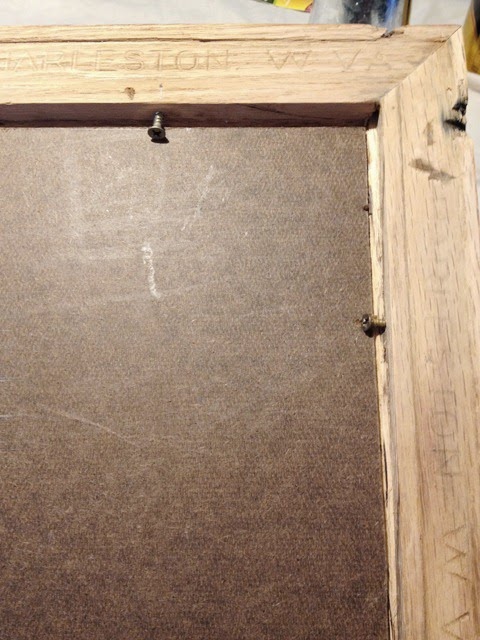
We used screws (it’s what we had in the garage) to hold the board in place in the frame.

Screw-Supports

We then used some command velcro strips (seriously love command strips) to attach it to the fridge panel. 

We don’t put anything on the fridge because I feel like it can get messy looking, so it was important to me to have something magnetic to display cards and invitations.  Since it’s seen from the front door and pretty much the entire first floor, it needed to look pretty as well.  The chalkboard can look nice by itself, but can also be used to jot down quick notes.

DIY-Magetic-Chalkboard-1

I used chalk pens to write the “tis the season” and plan to change it up throughout the year.  (Don’t forget to “condition” the chalkboard first by rubbing chalk over the entire surface if you plan to write in regular chalk – we were at a friend’s business and I was surprised he didn’t know this trick). 

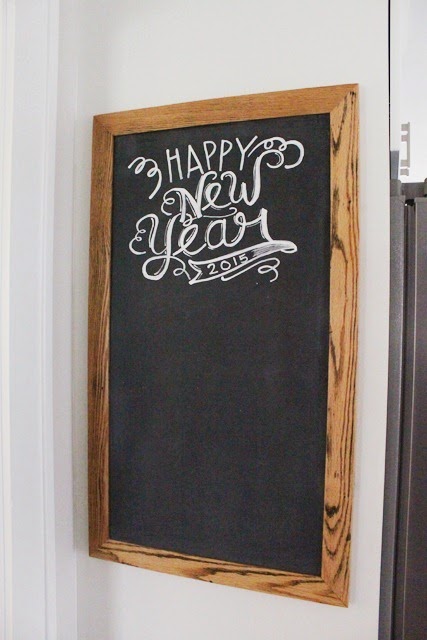
I actually changed it right after I took these photos to ring in the new year.

DIY-Magetic-Chalkboard-Happy-New-Year

I told Mike that no holiday was safe but, we’ll see how long I stay on it.  We may still be wishing a Happy New Year into April!