2015 Christmas Tour
Target really killed it this year with all the metallic holiday décor, and adding in some of their hanging stars brought my own metallic game up a notch.
We’ll start in the dining room, which I think is my favorite decorated room in the house. I added some of the stars to the windows, basically because I bought them before I knew what I was going to do with them and it’s really the only place I could figure out how to hang them!
You can see the start of our holiday card collection along the window. I also added some fabric I’m going to use to make a pillow for the living room on the table, for the interim because I like it so much!
We used our older small tree that we bought while we were working on the kitchen. There was too much going on to fully decorate that year, but I had to have at least a tree – even if it is just a small one. I moved the plant that usually sits there to the living room and the lights gets plugged into a timer behind the curtain for a cute little nightlight every evening.
I added more stars in the living room, and from this view it doesn’t even look like Christmas decorations. I wonder if Mike will notice they don’t come down after the holidays are over, shhh!
I made some garland using wooden beads and simple cocktail straw geometric shapes. I think it needs more substance, so maybe next year I’ll add some greenery garland as well.
They were really easy to make, and I like to do some mindless crafting in front of the TV just to keep busy every once in a while.
Our front door got an old wreath passed down from my mom before they moved to Florida. We have enough to put one on every window, and while I love the look, I hate the scratchy noise when the wind blows, especially when I’m home alone!
I bought some black and white striped ribbon and made a quick bow to replace the red plastic ribbon that clashed with our door color.
Our fauxdenza got a little tree action as well.
This was the same set-up we had last year, but I never posted about it. I was able to get the same copper/gold ornaments and star set from Target for a few bucks right after Christmas when everything goes on sale, so I was able to fill it up more. Last year they didn’t have cute little tree skirts for these mini trees like they do now, so I grabbed a placemat and cut a hole in the center. The antlers are usually on the fauxdenza but it matched the little tree so I set in underneath for a second and I forgot to move it!
The lights are little LED with a battery pack which I placed underneath the placemat/tree skirt.
Our "real" tree, aka the one where the presents go, is in the family room in the basement. When we added the fauxdenza upstairs, it no longer fit in the space and we realized it would work better in the basement because we have more seating down there anyways.
We ended up getting a new LED pre-lit tree from Target, because we were tired of fixing the broken lights, every freaking year. At 7ft tall, it barely fits and doesn’t leave room for a star or topper, but I don’t care because I’m so excited to not have to deal with the lights anymore.
To make up for it I bought a bunch of the smaller paper stars from Target (I swear this isn’t sponsored I just shop there – often!). We haven’t wrapped any presents yet, I bought most of them this week so they should be arriving soon. Our mailman is going to get a big present this year getting all of our online orders to us!
We kept up our ornament tradition from a local artist, and this year we bought a eagle (we think it's actually a dove, but we're stretching here) to commemorate all our traveling we did this year. They're getting harder and harder to find something with a direct symbolizism so we're working with what we had to choose from!
Our stockings get “hung on the fauxdenza with care”, which I’ve never shown the one down here before. I need to photograph this room once the decorations come down to update the home tour tab.
We keep the decorations pretty basic around here. Mike always hates the idea of decorating for the holidays, but as soon as they go up he comments that he appreciates that I get into it because he does like them and it gets us into the holiday spirit. Maybe I’ll even light some pine smelling candle or something and listen to some Christmas music on the 25th!
Staining the Deck Gone Wrong
I mentioned last week that we stained the deck.
This has been a very difficult process since thanks to the time change we only have about an hour, at most, of daylight every evening. Last weekend we moved everything off the deck, and power washed it. Which, we’ve decided needs to be done every spring, because it was beyond gross. I actually fell one day off the top steps because it was rainy that day and I stepped onto a dirtier area that had become super slick. Not again folks.
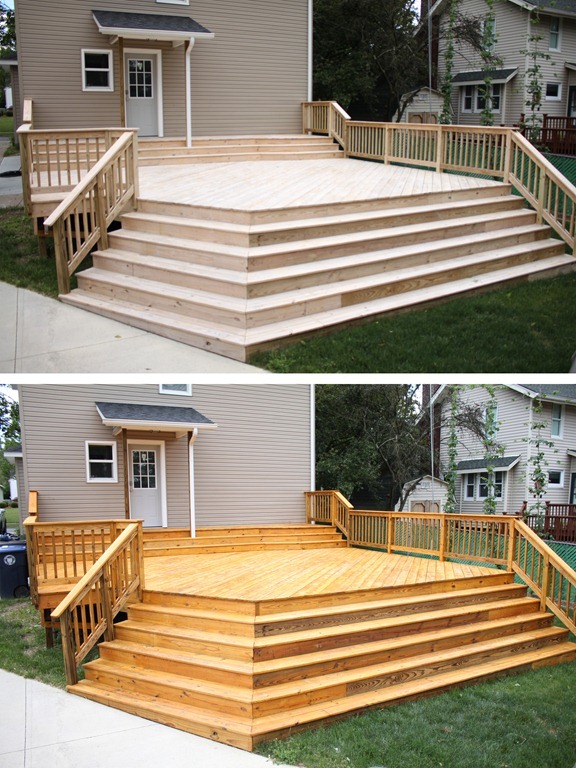
After cleaning, we waited for the weekend to get our stain on. Last time we did it on a weeknight and we were out there in the dark until 10:30pm. We learned our lesson. Mike picked the color last time and he picked Warm Golden Honey, which I’ll admit was not my favorite. It definitely faded a lot after this photo, but it was always a little too orange for my taste:
So, this time I wanted to go with a dark color, Sherwin Williams Charwood (SW3542):
We bought 6 gallons (the amount we used last time – thanks past Mallory for writing that note in the blog!) and went to work on Sunday. When we started the stain looked really gray. Like, light blue gray, but we had hours of work ahead of us, so I just assumed that as it dried it would (I don’t know, magically?) turn dark brown. We used 2 gallons up when Mike opened the third and we realized the problem. The 3rd gallon was the gorgeous brown you see up there, while the 2 we used were tinted Charwood using a weathered gray base. What are the chances that we pick the 2 out of 6 that are mistinted to start with?
We had all ready done a third of the deck at this point so our only solution was to return to Sherwin Williams and exchange all of our Charwood for the weathered gray color.
Instead of my awesome dark brown deck, we have a giant light gray, almost blue one. Womp, womp.
The more I think about it, the more bummed I get. I told Mike while we were staining – as a sick joke – that the only good thing about having to stain every couple of years is that I’ll get my Charwood deck in 2-3 years when we have to redo this horrible process again!
I guess if we weren’t so pressed for time (no more staining in November!) to get this project completed, we would have opened more cans to see if they were all gray, taken the 3 seconds to see the bases were labeled differently, or freakin’ tested it on a piece of scrap wood! Coulda shoulda woulda.
The next 5-6 months the deck will probably be covered in snow, so we’ll see how I feel once spring time rolls around. Hopefully the warm weather will make me forget about this feeling and I’ll get excited again about decorating the deck.
Deck Updates
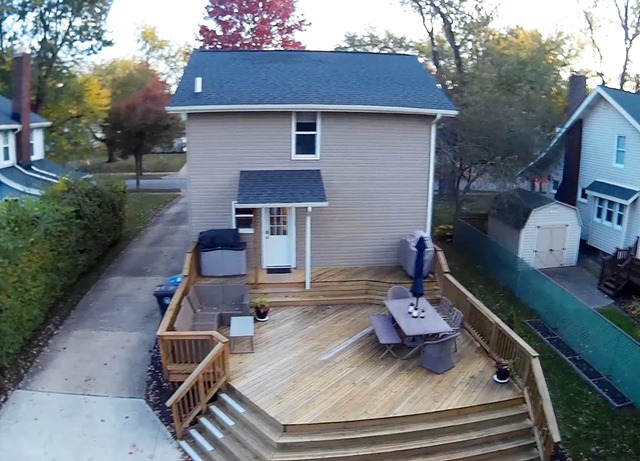
I recently received a comment on our porch reveal asking what our deck looks like. I admit I’ve been bad about sharing the updates back there. Back in the day, I outlined the “zones” I wanted to create, and I’m happy to report not much has changed and we even purchased all the large items we didn’t have. You may have noticed these in the drone flyover post.
And, my original “zone” plan:
We bought a dining set as well as a sectional and a coffee table. Both are from Target. The dining set is the Threshold Holden 6-Piece Metal/Wicker Rectangular Patio Dining Furniture Set. We also bought a navy blue umbrella and granite base (seen here, but no longer available on the website).
The sectional is the Threshold Heatherstone Wicker set with 5 sections with a faux stone coffee table (similar to this set).
Since the weather is crappy more often than not, I don’t leave any of the cushions out full time. So, instead of the “food set-up zone” I imagined, we opted for a storage container. It’s fine because we actually have larger parties than the deck alone could handle, so our food tables are set-up down in the driveway with the eating areas. With all the sectional cushions, dining chair cushions and extra pillows, the storage container alone couldn’t hold everything so we also picked up the Ikea TOSTERÖ for $20 and it’s held up surprisingly really well. I leave it on top of the storage bin during the nice weather months and then we toss it in the attic of the garage during winter.
I still plan to add string lights, which we already own from our wedding reception, but Mike and I have to build some supports, which I plan to make semi-permanent so that we’re more likely to use the lights if the supports are always there! Since we’re 5 minutes away from snow here, this will be a project for next spring.
But, before the snow hits (and with the freaky 75 degree weather we’re experiencing right now), we wanted to re-stain the deck. We finished most of it yesterday, but we still have touch-ups and a few sections along the sides to complete, but I’ll be back later to share. We had a huge hiccup happen, (one word: mistint), and I’m still not sure how I feel about it now. Hopefully later this week we can add the furniture back on and feel a little better!
Drone Flyover
Before we left though, Mike bought an SJCAM (a cheapy GoPro) to get some shots while we were doing all the fun things down in Mexico (we went scuba diving and Mike got the coolest sea turtle video!!). We decided it would be cool to hook it up to the drone Mike bought on Craigslist last year, (because why not?!) and do a flyover of the house.
We don’t have a gimbal yet so every adjustment is noticed, which doesn’t make for the most *ahem* smooth video, but we had fun shooting it, and I got some more practice editing, you know, for the sea turtle videos!
Beer Tap Chalkboard Sign
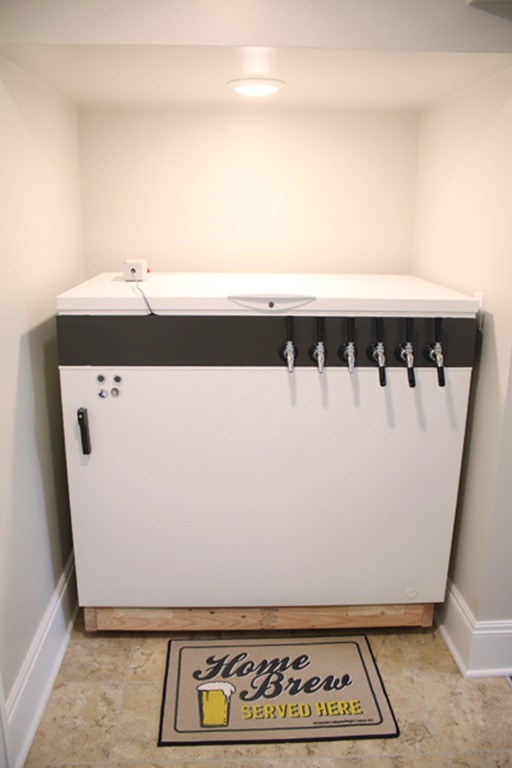
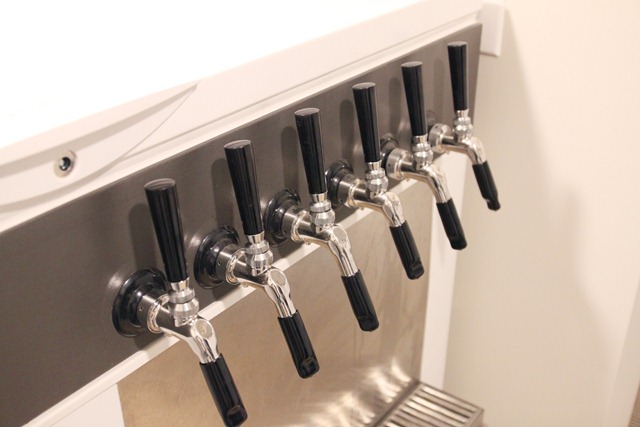
I’m working on finishing up some lingering projects, especially in the basement, so that I can take some completed room photos. One of the projects that has been on my mind for several months has been a tap sign for the keezer (a keg/freezer for those who don’t speak homebrew).
For awhile we’ve been labeling each tap by using a dry erase marker to write directly on the freezer. But, I’ve always thought a sign would look cooler.
There’s only a small space available above the freezer, so my dimensions were determined pretty quickly. Also, there are a lot of light colors going on over here, so I wanted to tie in the black tap collar (the black piece that was built to mount the taps), by using a chalkboard. The only problem was I wanted something Mike could change as new beers were added, but the depth of the freezer meant a mounted chalkboard was impractical.
That’s when I thought of a chalkboard (with a cool semi-permanent design), with removable mini-signs that could change easily as each keg was finished and different beer was added.
I drew a basic design with dimensions, and Mike built the base of the chalkboard out of plywood, a frame out of reclaimed wood, and thin mini signs out of some cedar he had stock-piled. We used little brass hooks that I purchased for a different project and Mike drilled holes in the small signs for them to hang.
I painted the plywood and mini signs with 3 coats of chalkboard paint, and used 2 coats of shellac on the frame. I made sure to condition my chalkboards before using a projector, with a design I created in Photoshop, to draw the design in chalk ink pens.
The little signs can be easily reached and removed to erase and label as new beers are exchanged.
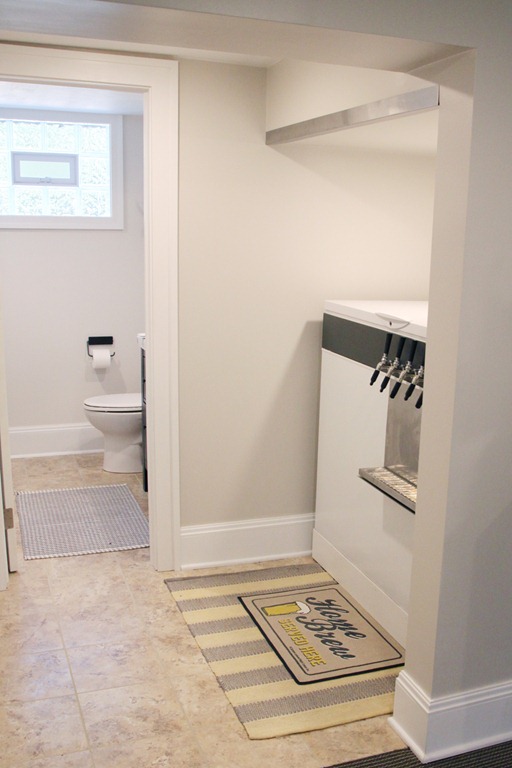
It’s not noticeable when you first walk around, which is nice because the first reaction, mostly from the guys, is awe that there’s a keezer full of beer on tap, so it takes a moment for them to notice anything else ;)
Instead of looking like a freezer stuffed in an alcove, I’d like to think the sign makes it look like a deliberate “beer cave”.
On a side note, I recently had a realtor friend of a friend, walk through and give her opinion on our house value now that we’ve completed all of our large renovations. I asked her if this set-up would help or hinder our house when we sell in the future (potential buyers won’t always have the same interests and some will be turned off by spaces that are used for very specific purposes), and she said it was definitely help, and it would be something that sets us apart by being a memorable feature! Ha!
Also, she said if we were listing now, she gave a listing price 59% higher than what we bought it for 5 years ago. We bought at the right time, but I’m glad to see we’ll hopefully see a good return on the things we upgraded, especially since we remodeled with ourselves in mind, not exactly thinking only about potential buyers in the future!
Porch | Reveal
When I showed the painted foundation I never did a full pulled-back shot of the porch. Since I use this blog as much as a platform to share our projects as I do a reference for us to look back on, I wanted to wrap this project up, officially.
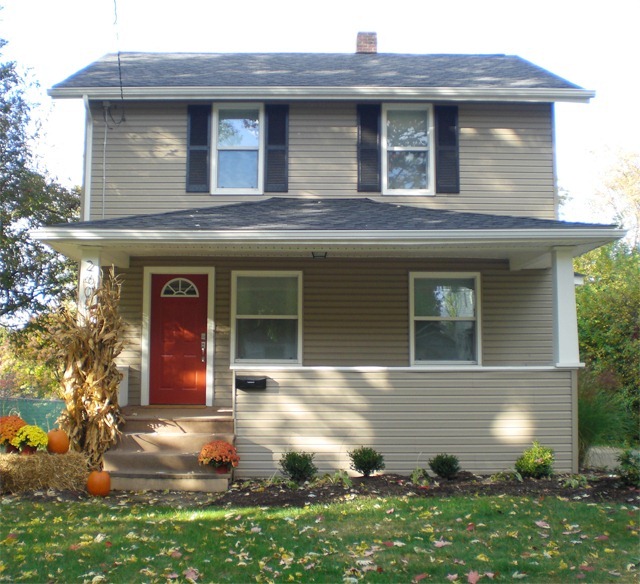
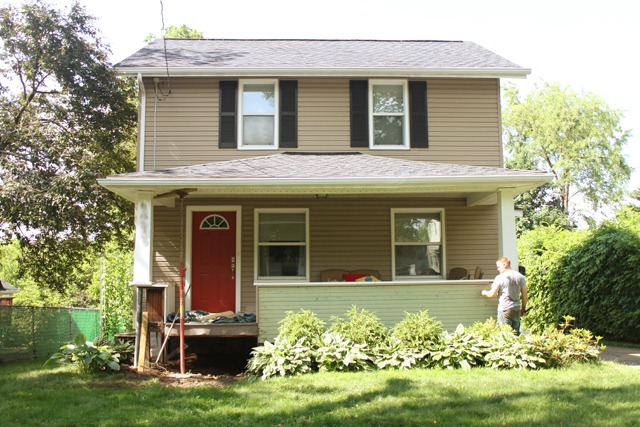
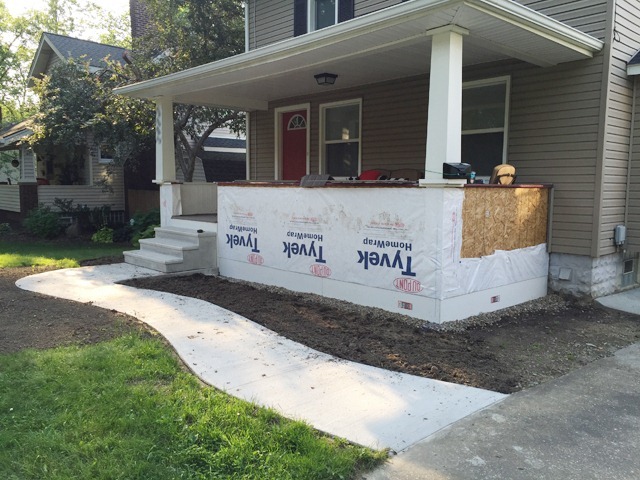
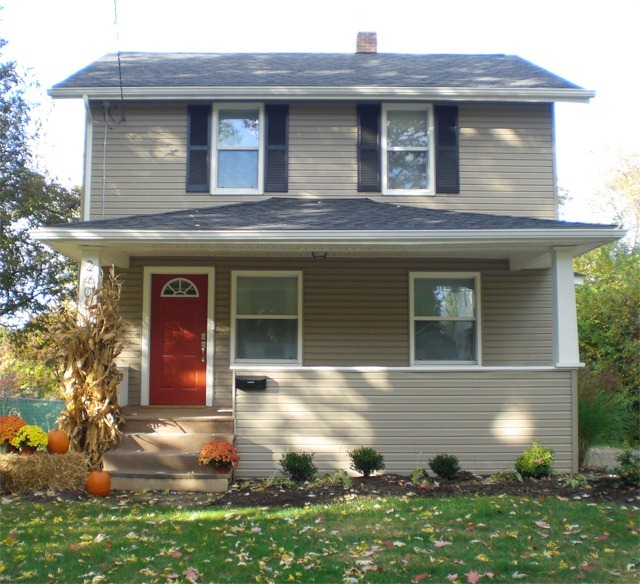
This is probably the first project that doesn’t look that much different from the before, but the progress photos show all the good stuff. We started with the existing porch, with carpeted stairs, and a concrete slab that dead-ended into the grass.
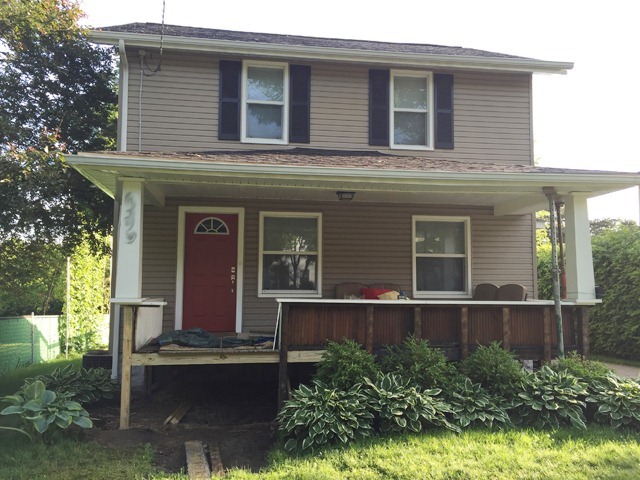
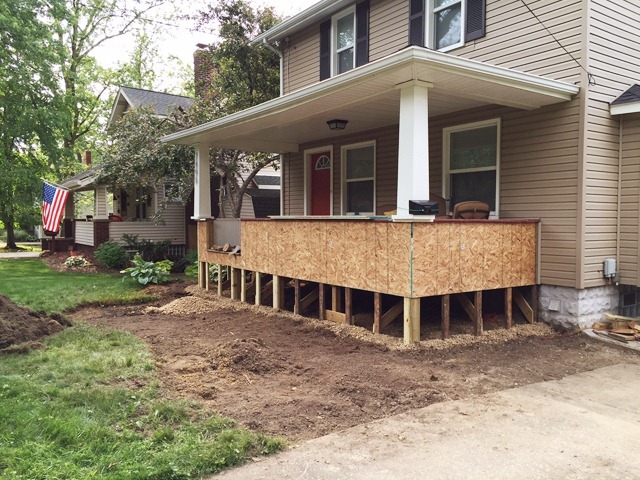
We got to work removing and saving the siding, demoing the stairs, and tearing off the old wooden siding.
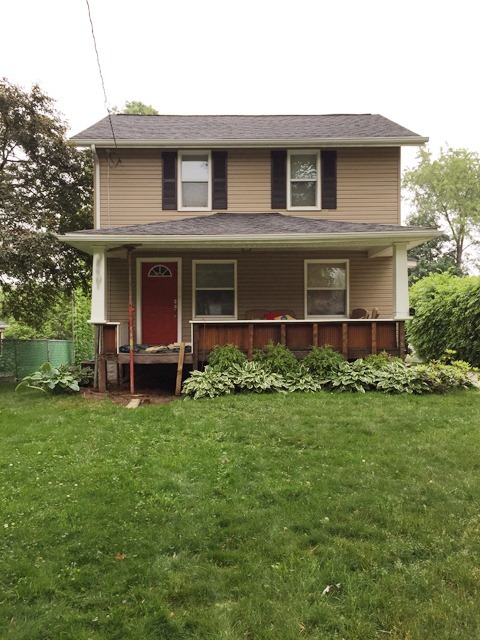
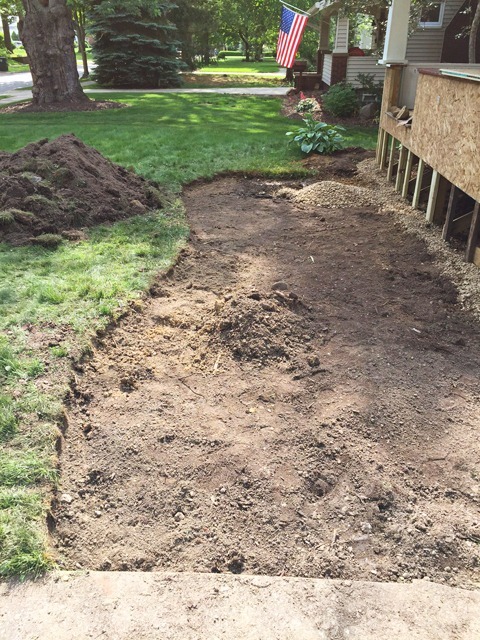
We then had to step back to re-evaluate the project after we found extensive termite damage.
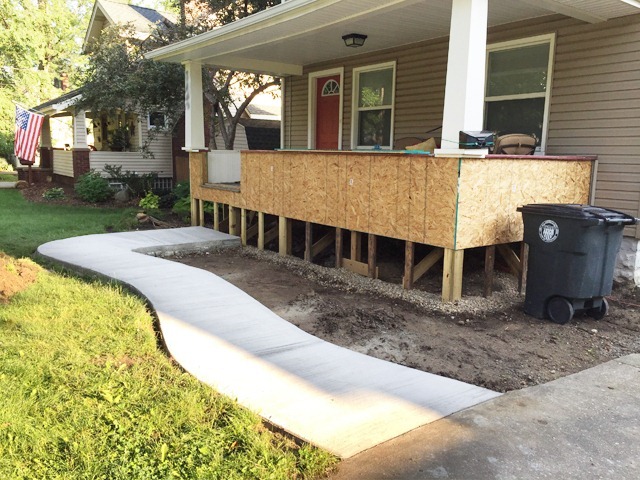
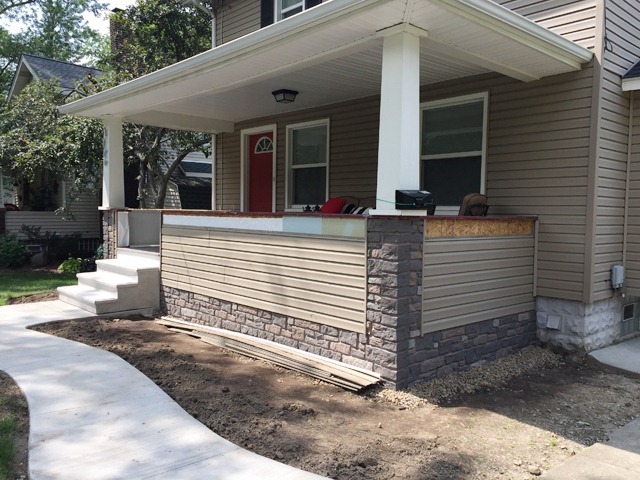
After some discussion, we decided to keep the porch and rebuild it with extra support. Also adding better materials to prevent termite damage in the future.
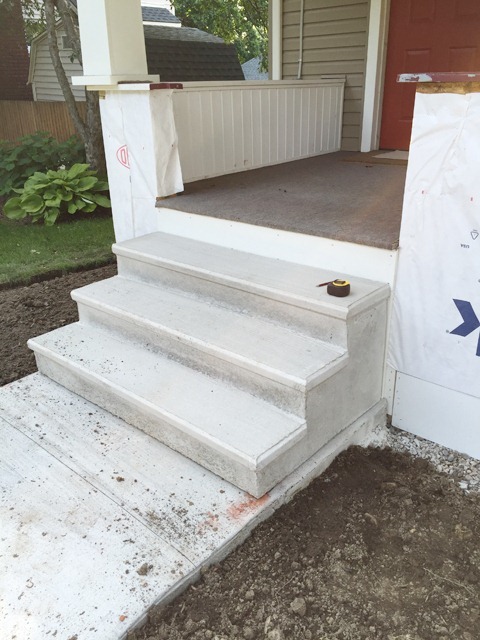
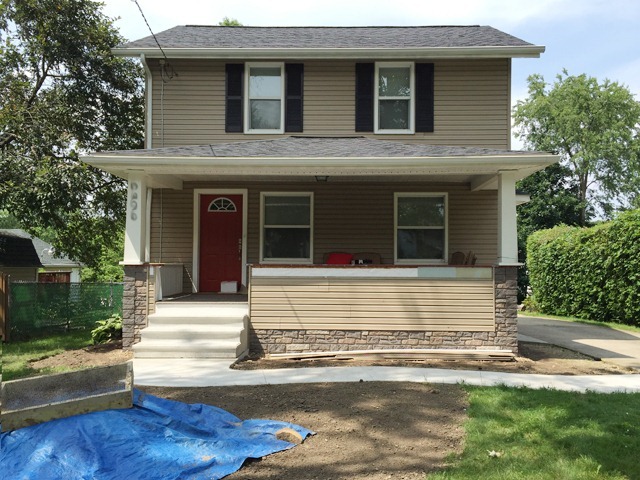
And, got new stairs.
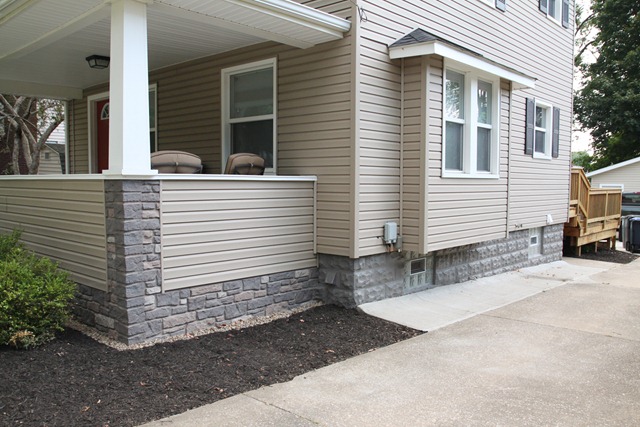
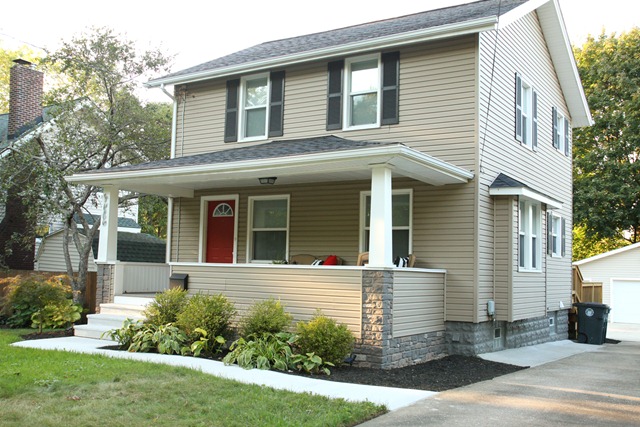
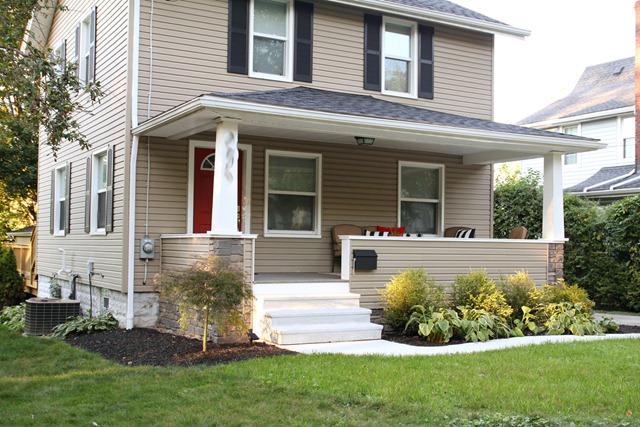
We wrapped the porch with Tyvek and PVC trim, and added faux stone panels to create a faux foundation and columns, creating an architectural detail and better curb appeal. Then added the saved siding back on.
Finally, I painted the foundation (technically, only half of it) with a paint color matched to the faux stone for better continuity.
Even though we still have to fill in some of the garden beds, we’re calling this baby done!
I hope to get the other foundation wall painted before the weather turns.
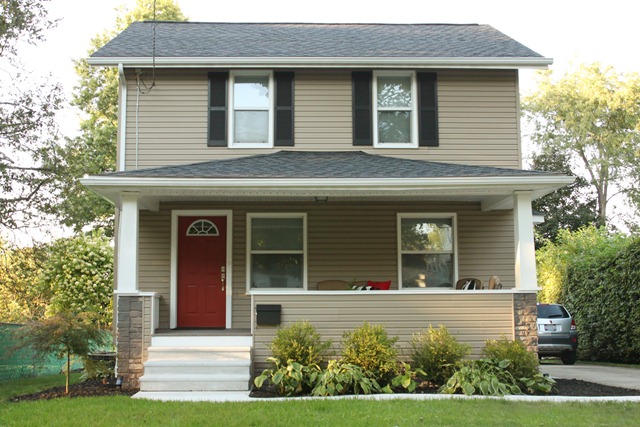
Like I said at the beginning, the before and after aren’t mind blowing or anything, I mean we literally transplanted the same plants back into place, but all the work underneath is impressive and we can definitely tell the new supports when we walk around on the porch.
The before/after back to back:
We recently added up all the receipts from this project, as well as all the new landscaping (new beds, mulch, rocks) and our total was $2,700. We had estimated that a new porch would be close to $5,000, so we went in to this project fearing the worse. We feel really good about the upgraded curb appeal, as well as making the foundation secure and preventing future damage. We’re also impressed we were able to clean up the rest of the yard in that number too!


 Via
Via


